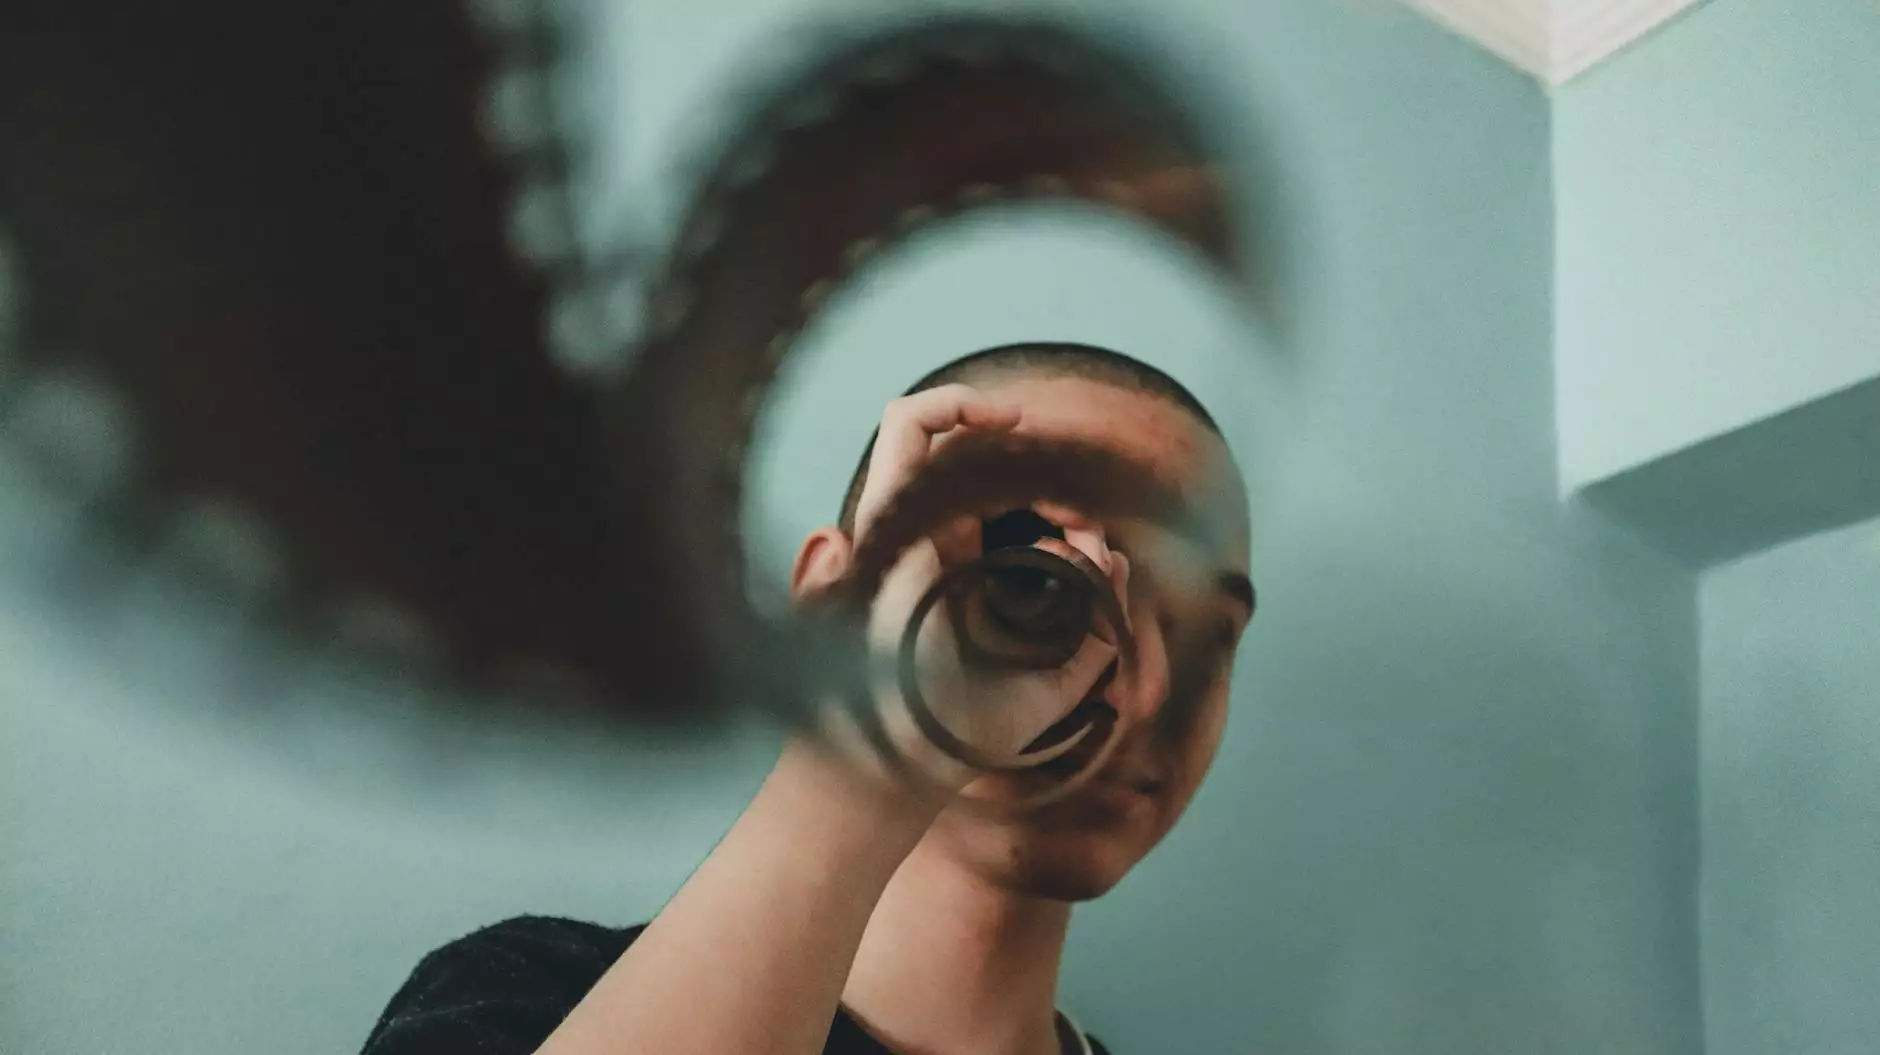
Shooting a Timelapse Video: Unleashing Your Creative Potential
Shooting a timelapse video is one of the most fascinating techniques in photography and videography. It involves capturing a sequence of images at set intervals and then playing them back at a higher speed, creating a mesmerizing visual narrative that condenses time. This guide aims to provide you with comprehensive insights into the world of timelapse photography, ensuring you capture stunning hours of action in mere seconds.
Understanding Timelapse Photography
At its core, timelapse photography compresses long durations of time into a short video, allowing you to witness changes that occur too slowly for the naked eye. The process showcases everything from the slow motion of clouds drifting across the sky to the rapid evolution of cityscapes, all wrapped in an engaging visual experience.
Why Shoot a Timelapse Video?
The appeal of shooting a timelapse video lies in its ability to transform mundane moments into captivating stories. Here are several compelling reasons to explore this technique:
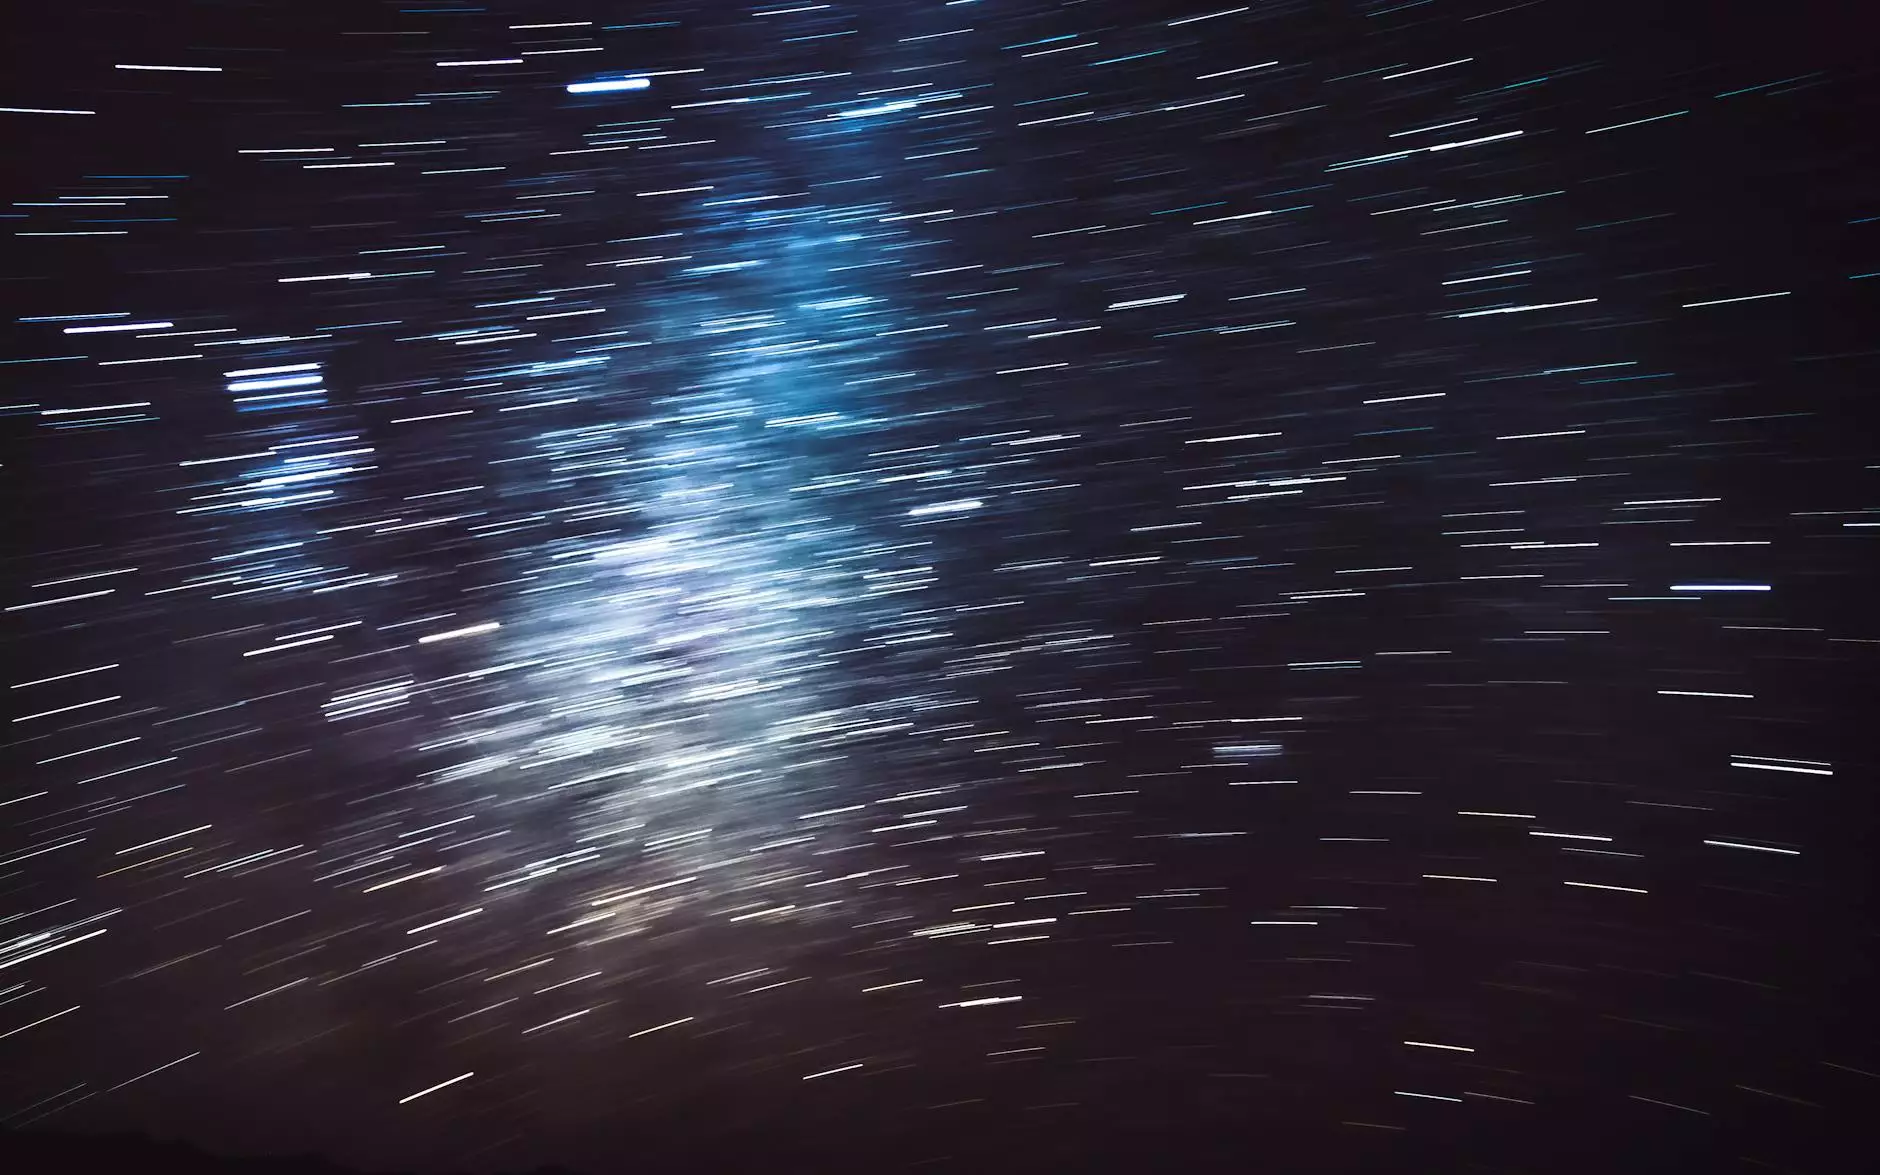
- Showcase Natural Beauty: Capture breathtaking sunsets, blooming flowers, or moving stars.
- Document Experiences: Record the hustle and bustle of city life, events, or construction projects.
- Create Artistic Expressions: Use timelapse as a creative tool to express your vision in unique ways.
- Engage Your Audience: Timelapse videos are visually striking and shareable, making them perfect for social media.
Essential Equipment for Shooting a Timelapse Video
While the artistry of timelapse photography rests on your creative vision, having the right tools can significantly enhance your results. Consider the following equipment:
- Camera: DSLRs, mirrorless cameras, and even smartphones can all produce excellent timelapse videos.
- Tripod: Stability is key! A sturdy tripod will help you maintain a consistent frame throughout your shoot.
- Intervalometer: This tool allows you to set the time intervals for capturing images automatically.
- Lenses: A variety of lenses can change the perspective of your timelapse, from wide-angle to telephoto.
- Editing Software: Post-production software will help stitch your images into a cohesive video.
Steps to Shooting a Timelapse Video
Below is a step-by-step guide to assist you in shooting a timelapse video successfully:
1. Choose Your Subject
Identify what you wish to capture. Popular subjects include:
- Landscapes (e.g., mountains, rivers, hiking trails).
- Cityscapes (e.g., sunrise to sunset in an urban environment).
- Events (e.g., celebrations, festivals, or natural phenomena).
2. Plan Your Shoot
Consider the time of day and weather conditions. The golden hours—around sunrise and sunset—often yield stunning lighting. Scout your location beforehand to determine the best angles and potential obstructions.
3. Set Up Your Equipment
Once at your location, set up your camera on a tripod, ensuring it’s stable and secured. Check your framing and compose your shot carefully to ensure it captures the essence of the scene.
4. Configure Camera Settings
Proper settings are essential for successful timelapse photography:
- Set your camera to manual mode: This prevents auto adjustments that can lead to flickering.
- Use a low ISO: This minimizes noise in your images.
- Adjust aperture: A moderate aperture (f/8 to f/11) balances depth of field and sharpness.
- White balance: Set this to a fixed value to maintain color consistency.
5. Determine Intervals
The interval between shots is crucial. It depends on the speed of the movement you’re capturing:
- Slow-moving clouds: Every 5 to 10 seconds.
- Crowd movements: Every 1 to 3 seconds.
- Sunrise/Sunset: Every 1 to 10 seconds, depending on overall duration.
6. Start Shooting
Once everything is set, start your timelapse session! Monitor the scene occasionally to ensure the camera remains stable and the subject remains in focus.
7. Post-Processing
After capturing, the next step is to compile the images into a video. Use video editing software like Adobe Premiere Pro, Final Cut Pro, or specialized timelapse software. Follow these steps:
- Import your images as a sequence.
- Set the frame rate (usually 24 or 30 frames per second).
- Add any desired transitions or effects.
- Export your final video.
Tips for Enhancing Your Timelapse Videos
To further elevate your timelapse work, consider these additional tips:
- Use ND Filters: Neutral density filters can help manage exposure for long duration shots, especially in bright conditions.
- Incorporate Movement: Subtle camera movements, like panning or tilting, can add dynamism to your timelapse.
- Utilize Drones: Aerial timelapse shots can provide a breathtaking perspective of landscapes and events.
- Edit for Storytelling: Include background music, narration, or captions to enhance the narrative of your video.
Conclusion: The Art of Timelapse Photography
Shooting a timelapse video is not only about technical skill but also about capturing the essence of your subject in an artistic manner. With the right tools, planning, and creativity, you can create breathtaking videos that resonate with viewers and showcase the beauty of fleeting moments. Whether you are a professional photographer or a hobbyist, the world of timelapse offers endless possibilities for exploration—so grab your camera, choose a subject, and start your journey into this captivating art form today!
Discover Timelapse Services at Bonomotion
If you are looking for professional assistance in real estate photography, timelapse projects, or any other photography services, look no further than Bonomotion. With a commitment to quality and creativity, Bonomotion provides exceptional services tailored to meet your needs. Visit us at bonomotion.com to learn more and elevate your visual storytelling.